TechSpot Features
Original features exploring tech culture, computing history, how-to guides, explainers, and tech trends
Latest Features
-
![4K QD-OLED vs. 4K WOLED: What You Need to Know]()
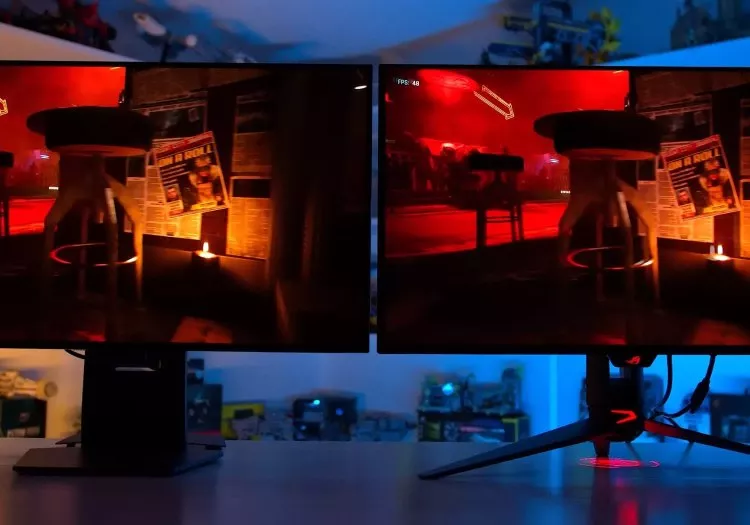
4K QD-OLED vs. 4K WOLED: What You Need to Know
Are you thinking of jumping into the OLED gaming ecosystem with a brand new 32-inch 4K fast refresh monitor but aren't sure whether to choose a QD-OLED or WOLED panel? -
![Compaq: Gone But Not Forgotten]()
Compaq: Gone But Not Forgotten
The year was 1982 and computers were no longer taking up a full room, but PCs were still far from portable. Three entrepreneurs founded Compaq to make a portable IBM-compatible PC and succeeded. -
![50 Years Later: The Revolutionary 8008 Microprocessor]()
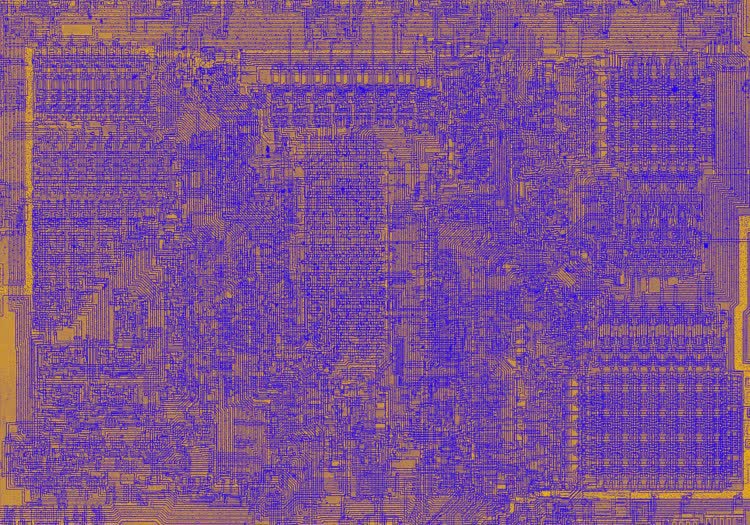
50 Years Later: The Revolutionary 8008 Microprocessor
Intel's groundbreaking 8008 microprocessor was produced over 50 years ago, the ancestor of the x86 processor family that you may be using right now. -
![The OLED Burn-In Test: One Month Update]()
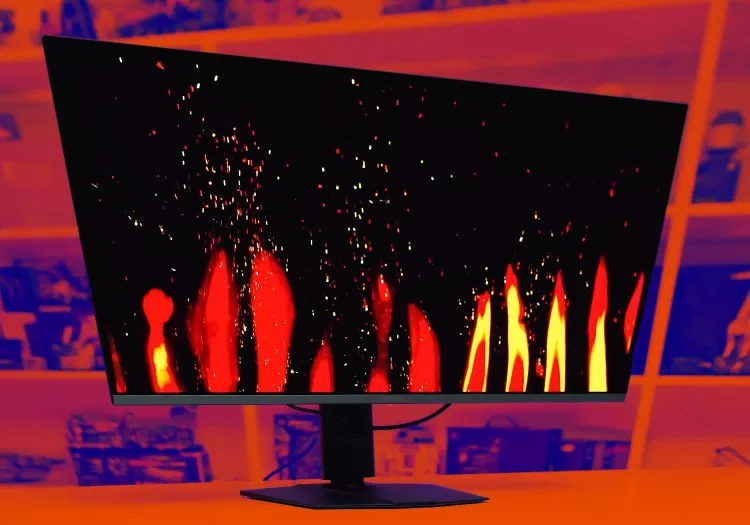
The OLED Burn-In Test: One Month Update
We have purposefully been using a 4K OLED monitor in ways that will cause permanent burn-in. This is not how you should be using an OLED monitor, but we're taking one for the team. -
![GPU Shootouts of This Generation and Pricing Update]()
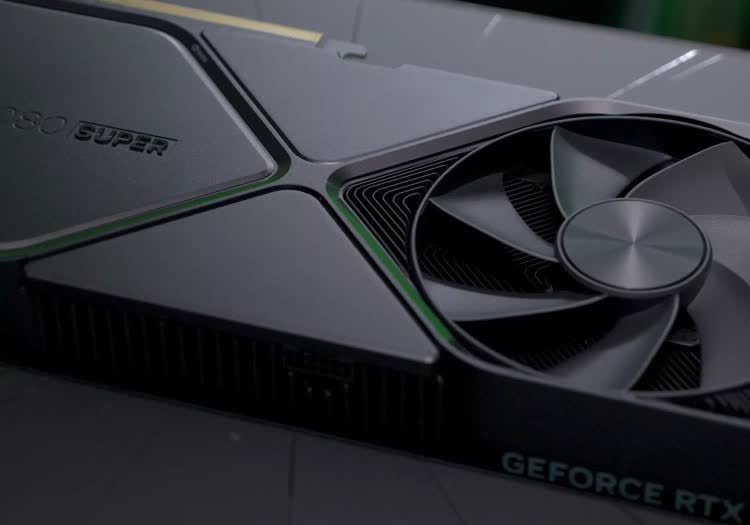
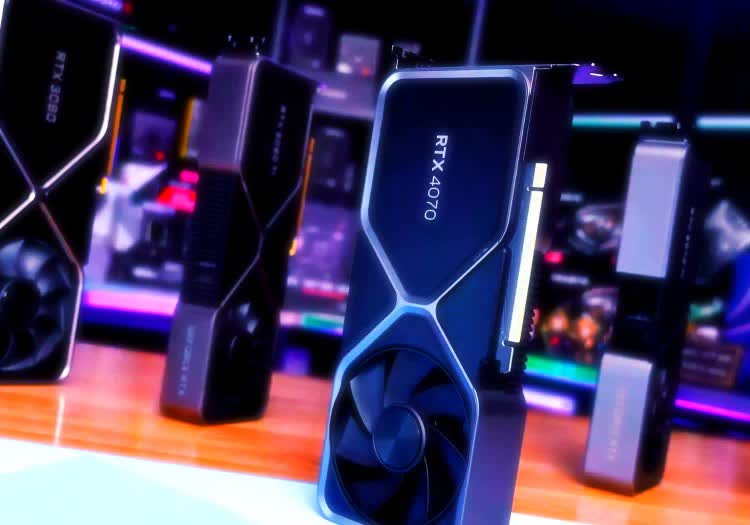
GPU Shootouts of This Generation and Pricing Update
Not much has changed in the gaming GPU market as of late, so this month we're looking at current prices and discussing the best graphics cards you can buy. -
![Nvidia GeForce Now Ultimate vs. Your Own RTX GPU]()
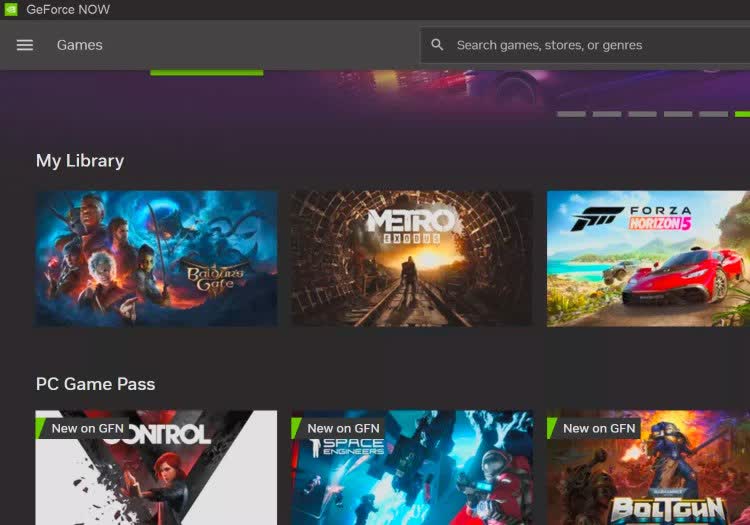
Nvidia GeForce Now Ultimate vs. Your Own RTX GPU
Nvidia's GeForce Now has changed a lot in the year since we asked the question: which is better, a new graphics card or a subscription to GeForce Now's Ultimate tier? -
![Intellivision: Gone But Not Forgotten]()
Intellivision: Gone But Not Forgotten
In the late 1970s, Mattel's Intellivision gaming system competed against the equally legendary Atari 2600. Both systems would leave a lasting impression on the history of console gaming. -
![The Price is Wrong: This is What GPUs Should Have Cost]()
The Price is Wrong: This is What GPUs Should Have Cost
In this GPU analysis, we look back across the last 4 generations of graphics cards to illustrate exactly why this generation has underperformed - and by how much - showing what each GPU should have cost. -
![Goodbye to Graphics: How GPUs Came to Dominate AI and Compute]()
Goodbye to Graphics: How GPUs Came to Dominate AI and Compute
Gone are the days when the sole function for a graphics chip were, graphics. Let's explore how the GPU evolved from a modest pixel pusher into a blazing powerhouse of floating-point computation. -
![4GB vs. 8GB: How Have VRAM Requirements Evolved?]()
4GB vs. 8GB: How Have VRAM Requirements Evolved?
A lot has been said about 8GB GPUs over the past year, in part thanks to our own testing. In comparing 4GB vs 8GB VRAM we hope to get a glimpse into the future dynamics between 8GB and 16GB configurations. -
![A Games List of Only Amazing Hidden Indie Gems and Snubs]()
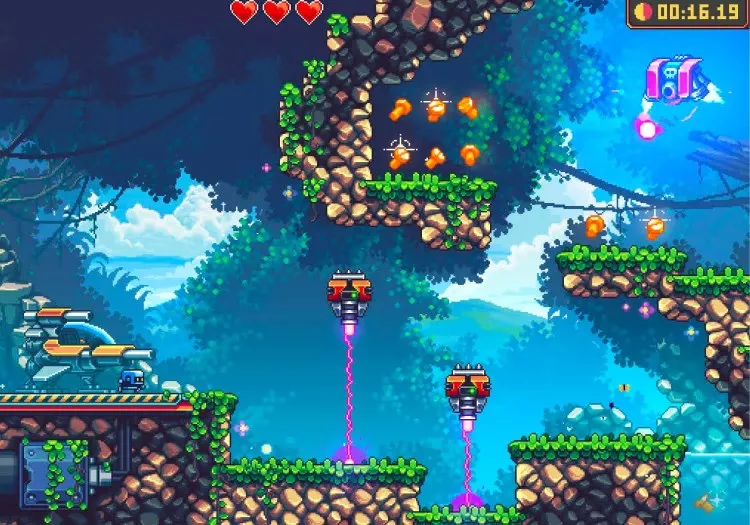
A Games List of Only Amazing Hidden Indie Gems and Snubs
Let us introduce you to 20 hidden indie gems you haven't heard of, but fully deserve your attention. These are all impressive games that never got the chance to dance under the bright lights. -
![microSD and SD Card Buying Guide]()
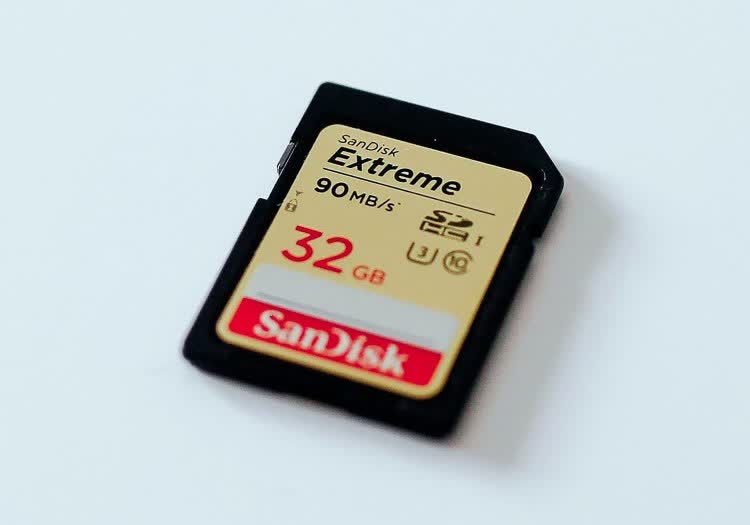
microSD and SD Card Buying Guide
Portable flash memory has never been more versatile. In this guide, we explain all the SD card speed classes, plus give you handy buying recommendations. -
![Interview with Intel's CEO: Pat Gelsinger describes a different kind of foundry]()
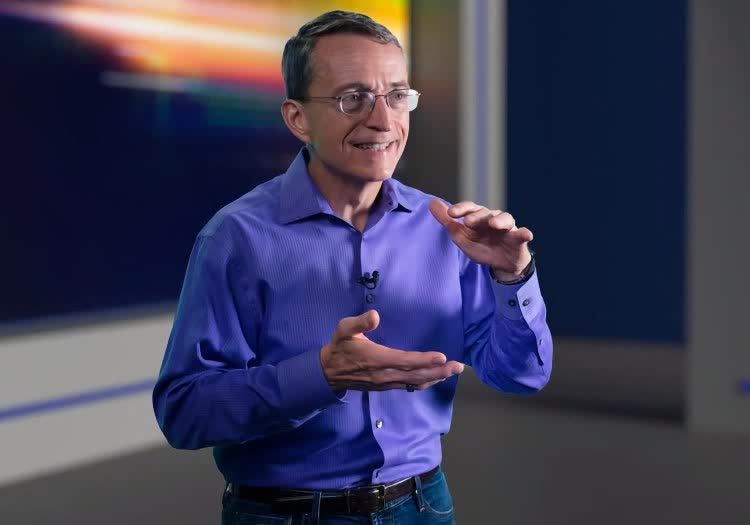
Interview with Intel's CEO: Pat Gelsinger describes a different kind of foundry
In advance of Intel's first event dedicated to their Foundry business, I had the opportunity to sit down one-on-one with CEO Pat Gelsinger and talk about the company's strategic goals. -
![Nvidia and AMD Price Cut Battle, Great GPUs Discontinued]()
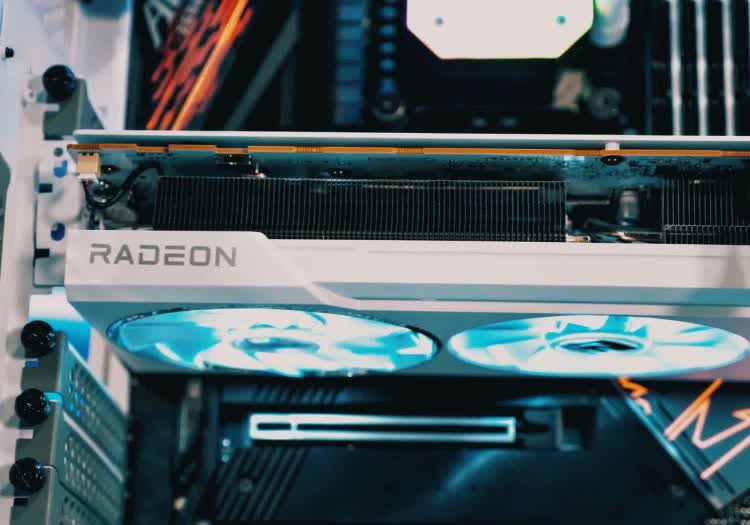
Nvidia and AMD Price Cut Battle, Great GPUs Discontinued
For the return of our monthly GPU pricing updates, we took a short break to review the newcomers and see where everything settled. We're in store for a bumper episode as there's much to discuss. -
![Is Upscaling Useful at Lower Resolutions? Nvidia DLSS vs Native at 1080p]()
Is Upscaling Useful at Lower Resolutions? Nvidia DLSS vs Native at 1080p
While higher resolution monitors are becoming more popular and we recommend them, 1080p continues to have the most usage among PC gamers. We take a look at DLSS upscaling vs native rendering at 1080p. -
![Bad News, SSDs Are Getting More Expensive]()
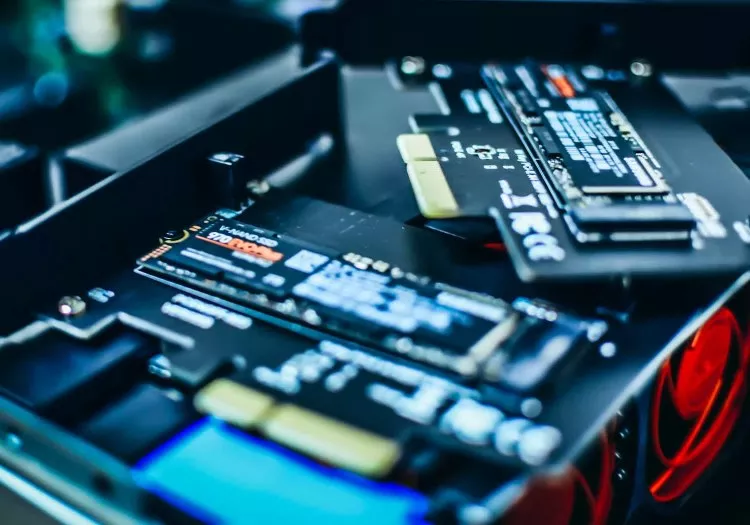
Bad News, SSDs Are Getting More Expensive
To make sense of SSD pricing trends, we've selected some of the most popular SSDs across three different capacities and analyzed how their average prices on Amazon have fluctuated over the last year. -
![How JPEG Image Compression Works]()
How JPEG Image Compression Works
At a high level, JPEG is a lossy image compression technique. What you may not realize is that achieving this required a fascinating blend of human perception, signal processing, and clever engineering prowess. Enter JPEG. -
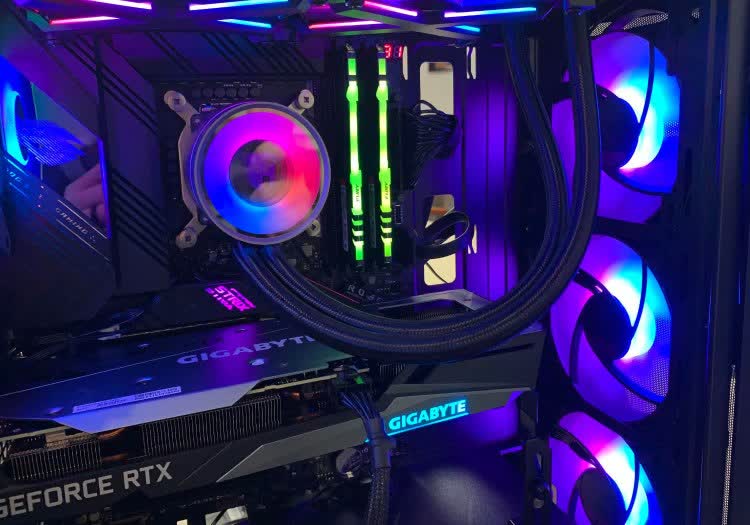
![TechSpot PC Buying Guide: Early 2024]()
TechSpot PC Buying Guide: Early 2024
For gamers and mainstream users, it's a great time to build a PC. The TechSpot PC Buying Guide includes four builds for different budgets and purposes. -
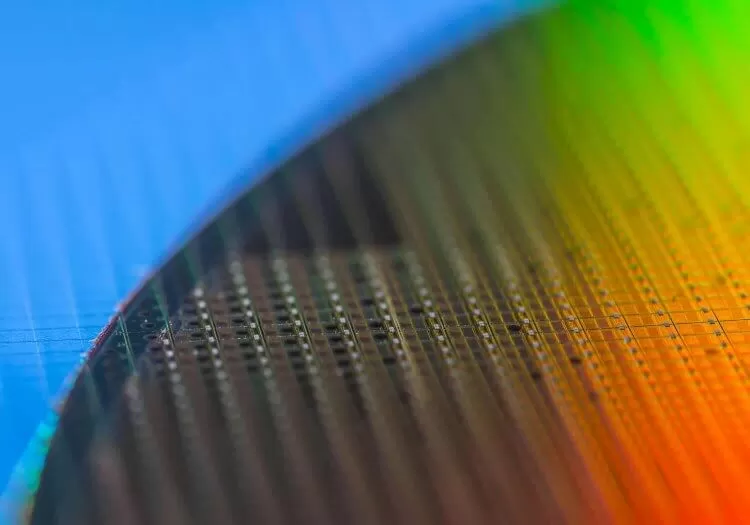
![Explainer: What is Chip Binning?]()
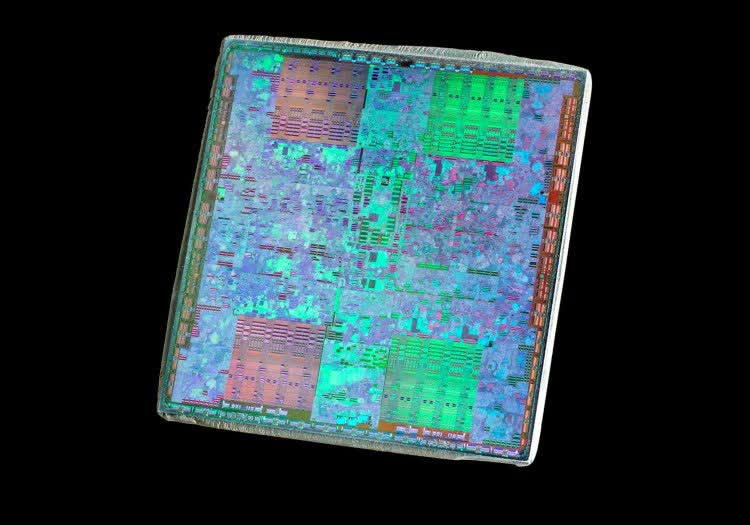
Explainer: What is Chip Binning?
You bought a new CPU and it seems to run cool, so you try a bit of overclocking. The GHz climb higher. Did you hit the silicon jackpot? You've got yourself a binned chip. But what's that exactly? -
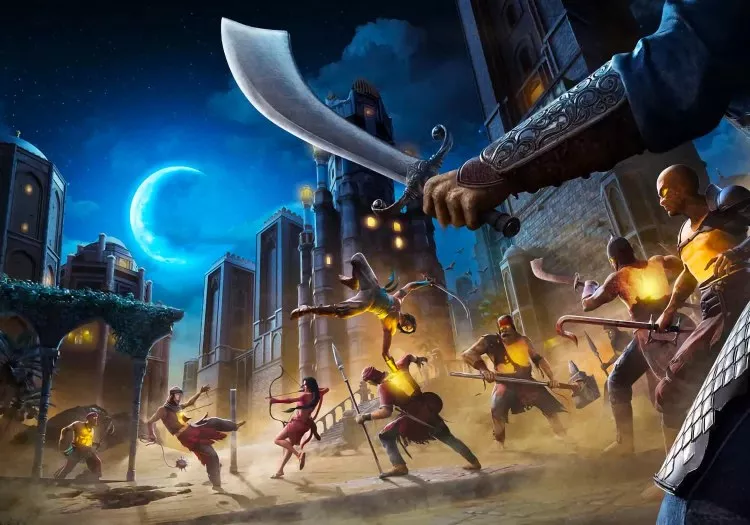
![35 Years of Prince of Persia]()
35 Years of Prince of Persia
The Prince of Persia series likely means different things to different generations of gamers, from unprecedented realism in the 2D era, to unforgettable 3D platformers and pioneering mobile games. -
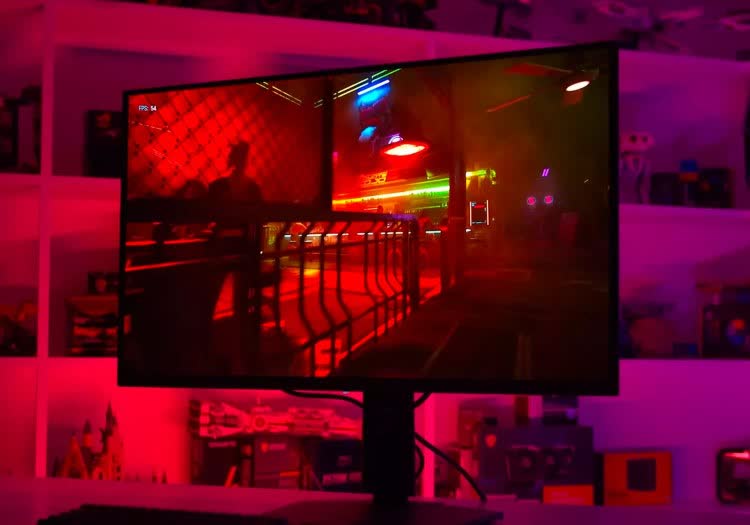
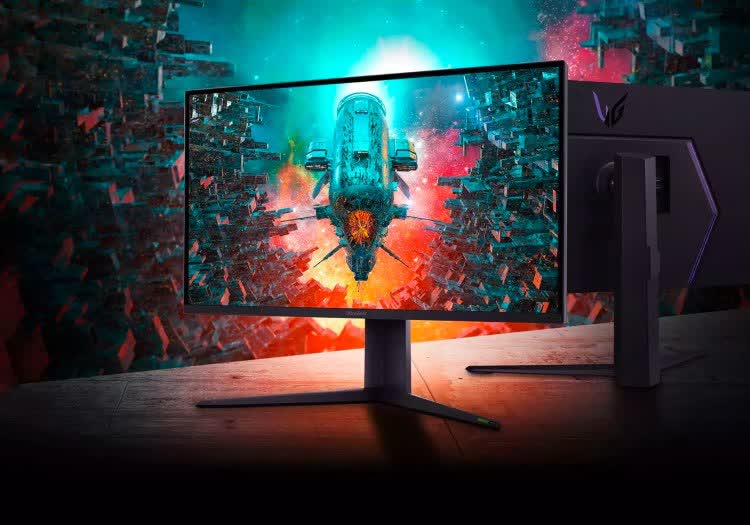
![Superb PC Gaming with Next-Gen 4K QD-OLED Monitors]()
Superb PC Gaming with Next-Gen 4K QD-OLED Monitors
The upcoming MSI MPG 321URX is a new gaming monitor packing the long-awaited 32-inch 4K 240Hz QD-OLED panel. In this hands-on preview, we check out its key features and then some. -
![Top 10 Tech Pranks]()
Top 10 Tech Pranks
Pranks are awesome. And you're a tech-savvy individual, so it's time that your pranks showed that. We've got some ideas. -
![Top 10 Private and Secure Email Services]()
Top 10 Private and Secure Email Services
Are your emails and attachments safe from prying eyes? If you're not using a secure email service that respects your privacy, the answer is likely no. -
![Nokia: The Story of the Once-Legendary Phone Maker]()
Nokia: The Story of the Once-Legendary Phone Maker
Most people who hear the word "Nokia" associate it with mobile phones, but there's a convoluted history to tell since the company's humble beginnings over 150 years ago and many reinventions. -
![How to Edit Windows OEM Information in System Settings]()
How to Edit Windows OEM Information in System Settings
Want to get rid of the annoying OEM information in Windows or edit it to something more creative? Here's our quick guide on how to do exactly just that. -
![GPU Pricing Update, Year in Review: Price Trends Charted]()
GPU Pricing Update, Year in Review: Price Trends Charted
Welcome to our last GPU pricing update of the year. We'll discuss upcoming GPUs, price trends for the last 12 months, and recommendations about buying a graphics card now or if it's better to wait. -
![Nvidia G-Sync vs. AMD FreeSync in 2024]()
Nvidia G-Sync vs. AMD FreeSync in 2024
Have you been researching your next monitor and ran into terms like FreeSync and VRR? Do you want to know how G-Sync compares to FreeSync, and if your GPU will take full advantage of your monitor? -
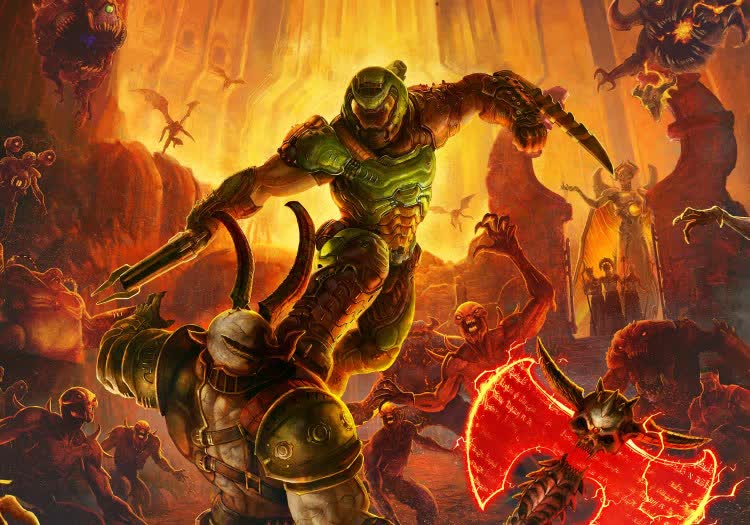
![Ripping and Tearing: 3 Decades of Doom]()
Ripping and Tearing: 3 Decades of Doom
Doom is rightly considered the granddaddy of the FPS genre, a claim few games can make. Let's look at each memorable entry in the Doom series from development to reception. -
![So, You Want to Be a Video Game Developer?]()
So, You Want to Be a Video Game Developer?
You might be one of the millions of people who love playing video games, but what if you want to take it further and become a game developer? Here's our advice on how to do exactly that. -
![The History of the Modern Graphics Processor]()
The History of the Modern Graphics Processor
3D graphics transformed a dull PC industry into a spectacle of light and magic. TechSpot's look at the history of the GPU goes from the early days of 3D, to game-changing hardware and beyond.


No products matched your criteria.
Try refining your search or go back to the popular listing.