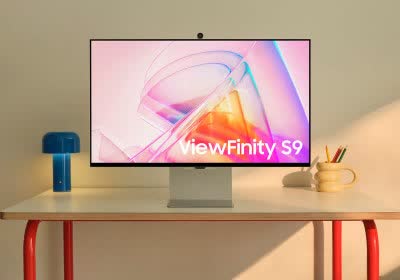
Samsung's 2024 TV lineup receives a new 98-inch model for $3,999
New set with AI-assisted features joins the 2024 lineup


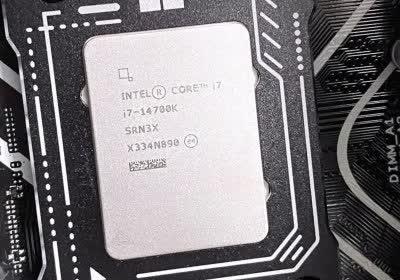
Motherboard makers release revised models of existing boards all the time. But what is unusual here is that all these new additions are entry-level, and released rather quietly. Let's find out why.


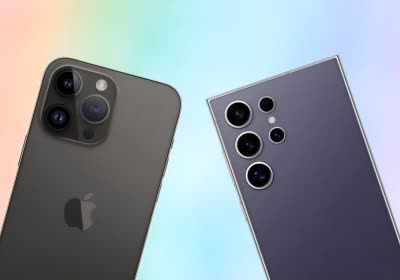


Are you thinking of jumping into the OLED gaming ecosystem with a brand new 32-inch 4K fast refresh monitor but aren't sure whether to choose a QD-OLED or WOLED panel?